![The DFT Communications logo on a grey background, with a small lens flare coming off the corner of the letter D.](https://sni.dftcommunications.com/wp-content/uploads/2023/01/Gerneric-DFT-1024x536-1.jpg)
Setup Outlook (IMAP)
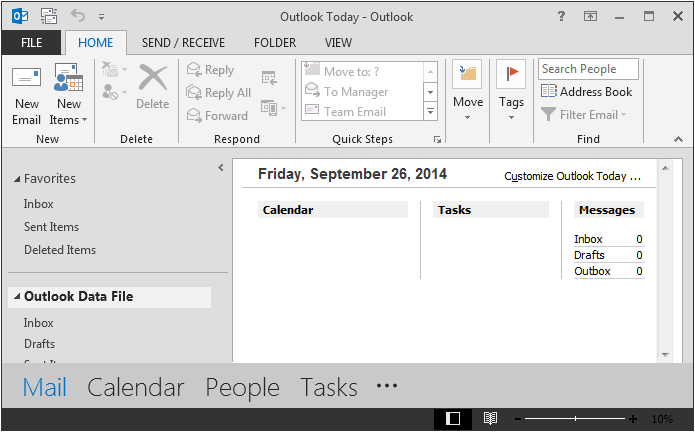
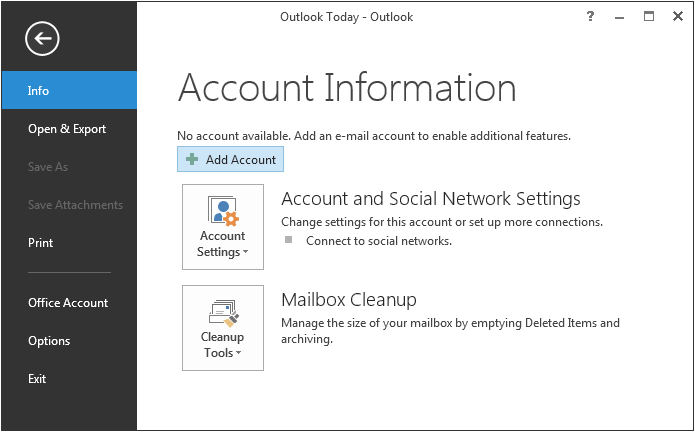
1. Open Outlook 2013. Then click on the File tab.
![](https://dftcommunications.com/wp-content/uploads/2018/10/main_window.png)
2. Click on the Add Account button.
![](https://dftcommunications.com/wp-content/uploads/2018/10/file_tab.png)
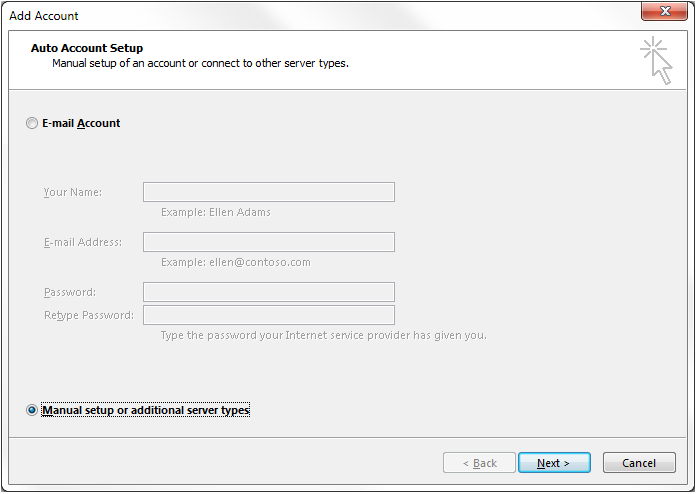
3. Click on Manual setup or additional server types. Then click Next.
![](https://dftcommunications.com/wp-content/uploads/2018/10/add_account_02.png)
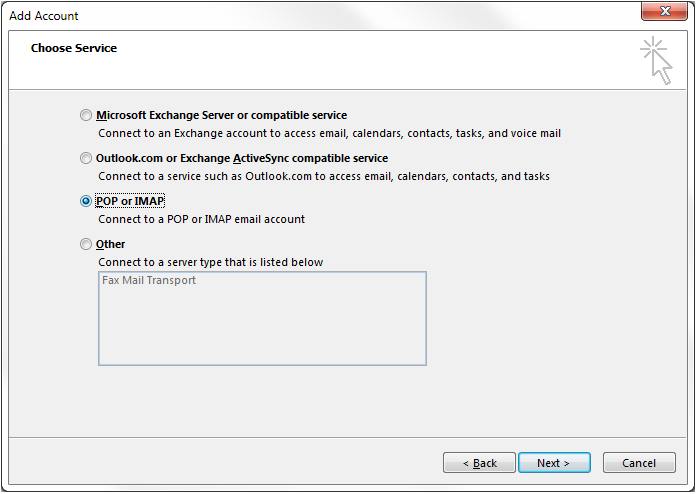
4. Click on POP or IMAP. Then click Next.
![](https://dftcommunications.com/wp-content/uploads/2018/10/add_account_03.png)
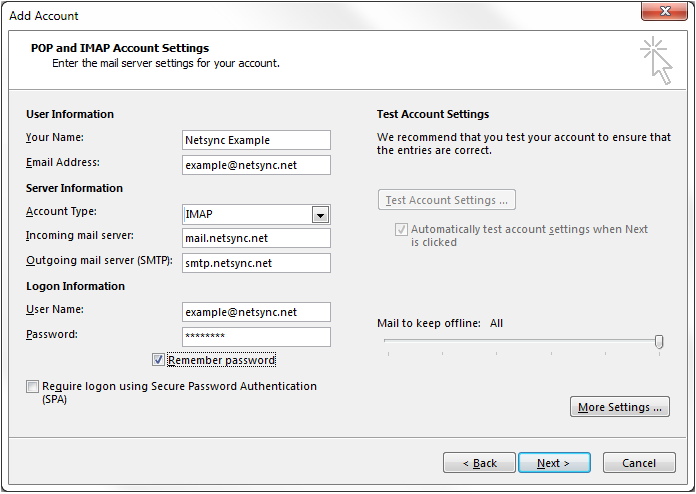
5. Please enter the information exactly as how it appears in the image below with the exceptions of your name and e-mail address in which you’ll want to use your own name and e-mail address. Then click on the More Settings button.
![](https://dftcommunications.com/wp-content/uploads/2018/10/add_account_04_imap-1.png)
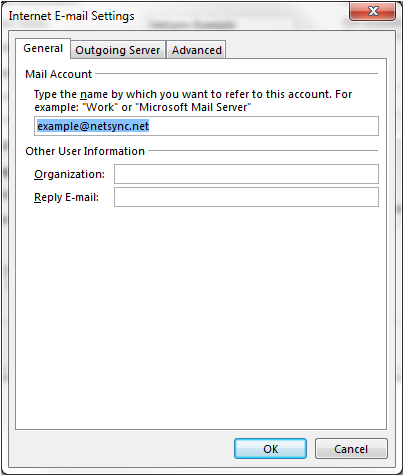
6. Click on the Outgoing Server tab.
![](https://dftcommunications.com/wp-content/uploads/2018/10/more_settings_general.png)
7. Place a check mark in the box for My outgoing server (SMTP) requires authentication. Then click the Advanced tab.
![](https://dftcommunications.com/wp-content/uploads/2018/10/more_settings_outgoing_server.png)
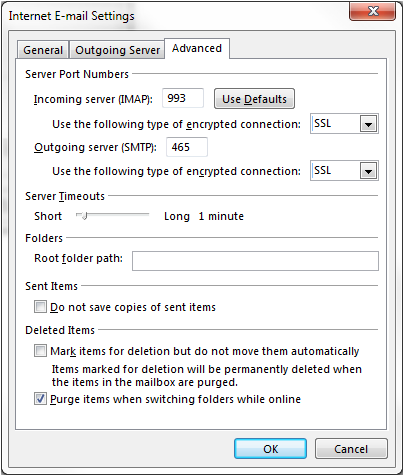
8. Please enter the information exactly as it appears in the image below. Then click OK.
![](https://dftcommunications.com/wp-content/uploads/2018/10/more_settings_advanced_imap.png)
9. Click Next.
![](https://dftcommunications.com/wp-content/uploads/2018/10/add_account_04_imap-1.png)
10. Wait for Outlook to test the mail settings, and you should see a window that matches the image below. Then click Close.
![](https://dftcommunications.com/wp-content/uploads/2018/10/add_account_05_imap.png)
11. Click Finish.
![](https://dftcommunications.com/wp-content/uploads/2018/10/add_account__finish.png)